#
Instance Group
An Instance Group acts as a logical container for Instances. It typically contains several Instances for different purposes (productive, test, development). Adding them to the same group provides a better overview over which of them belong together. An empty page is displayed if no instance group has been created.
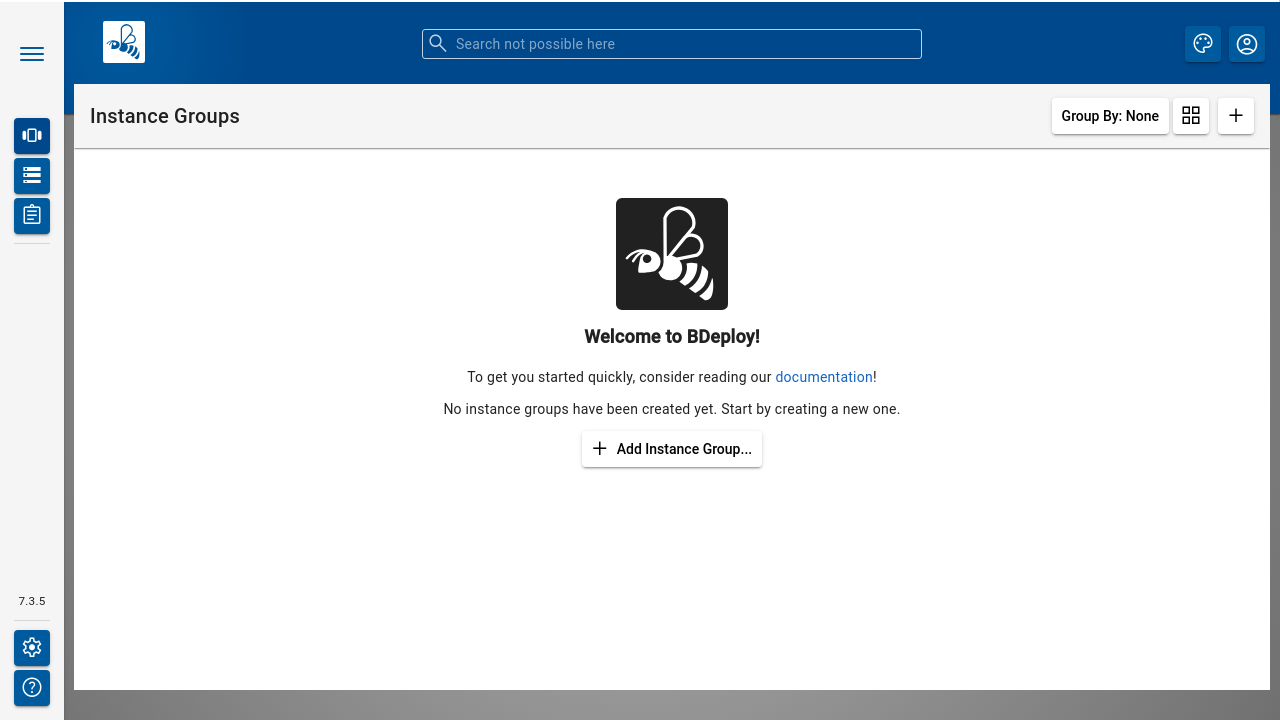
Use the [ + ] button in the toolbar to create a new Instance Group.
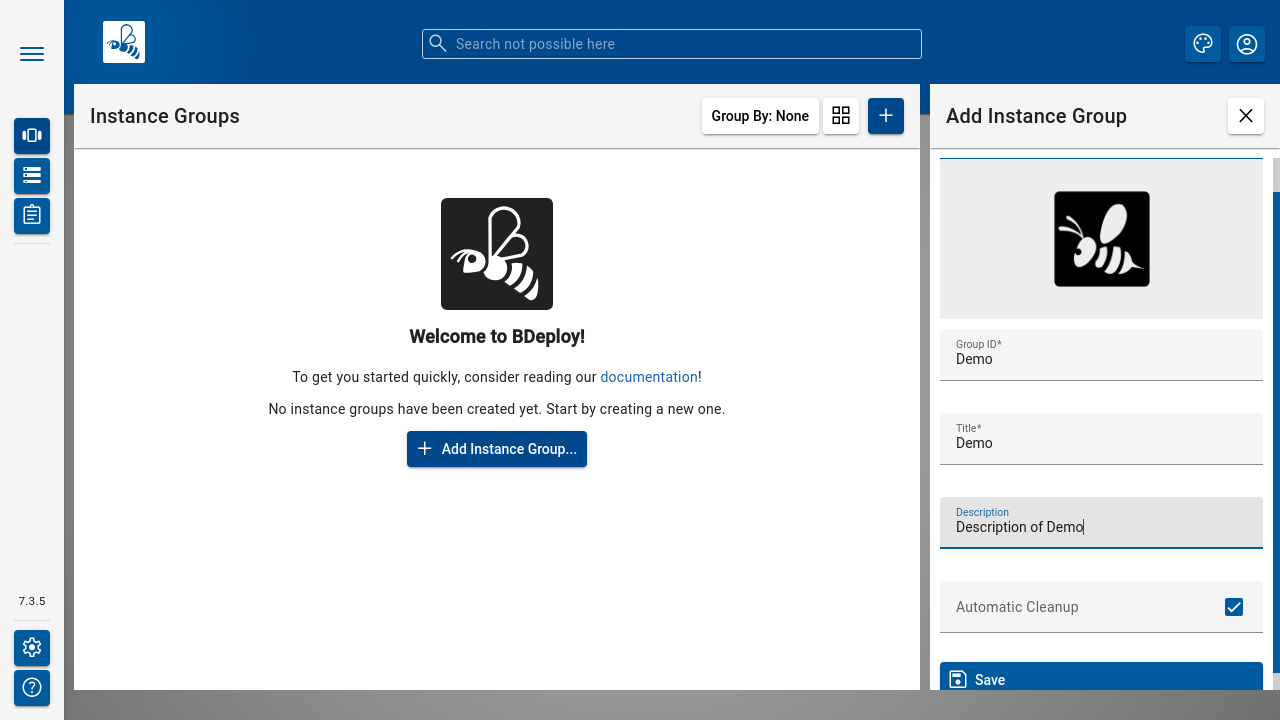
Note
The name of an instance group cannot be changed after its creation. It is used internally as a name in the file system on the server. Be careful when choosing the name.
The Automatic Cleanup option helps to reduce the amount of consumed hard disk space. There is a high likelyhood of new versions of a Product being deployed during the lifetime of an Instance Group. To avoid the hard disk being filled up with product versions that are not used anymore, there is an option to activate an automatic cleanup job. If the option Automatic Cleanup is enabled, old product versions that are no longer in use by Instances of this Instance Group are deleted automatically. To avoid that a Product vanishes completely, the newest product version always remains.
#
Instance Group Dialog
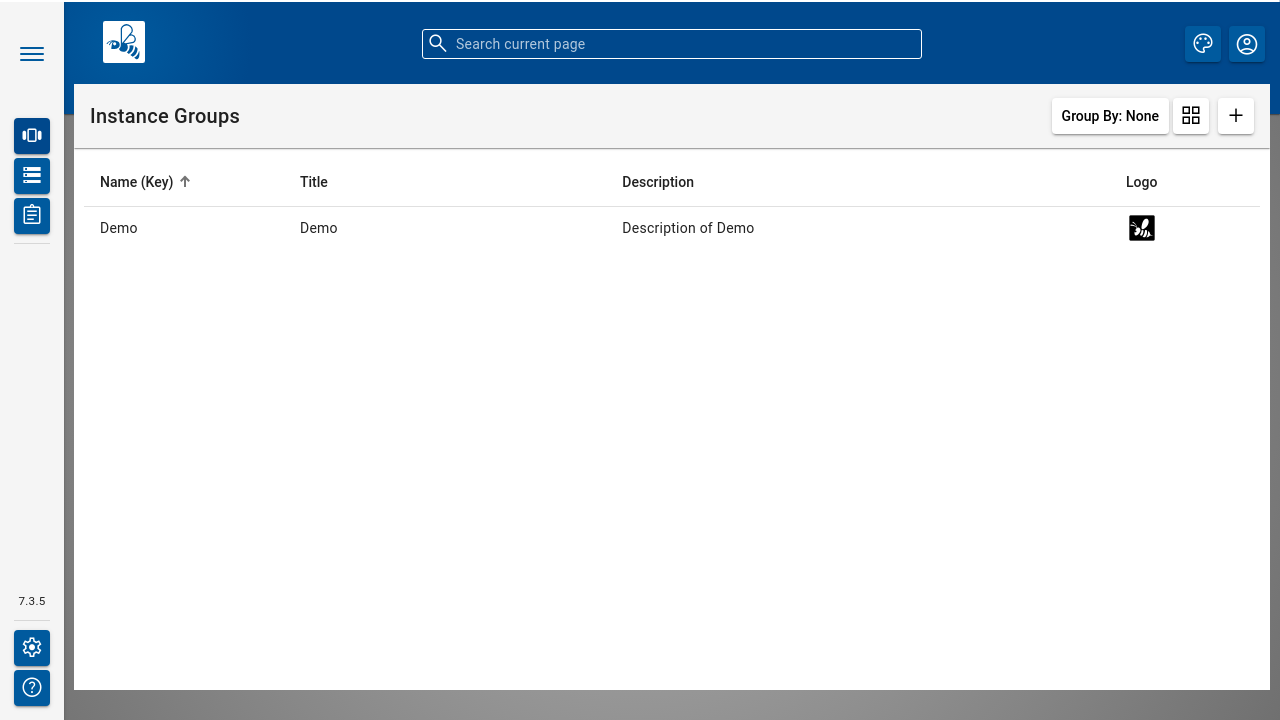
All Instance Groups that are visible to the user (as per the assigned permissions) are shown in the Instance Groups dialog.
#
Instance Group Access
A new Instance Group is initially only visible to users with global read permission (or higher). You can assign permissions to users either globally, or per Instance Group. To assign local permissions, click the Instance Group to get to its instance overview and then click the [ Group Settings ] toolbar button. The Group Settings panel is shown.
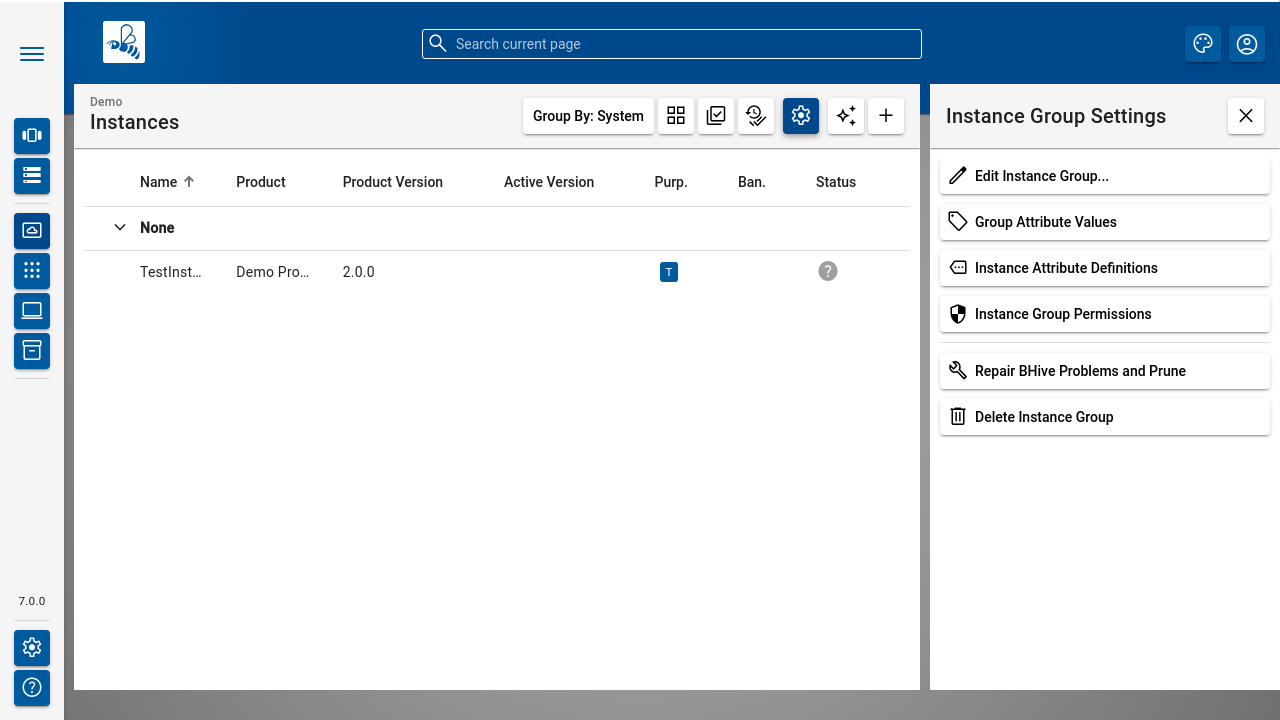
Click the [ Instance Group Permissions ] button to navigate to the permissions panel.
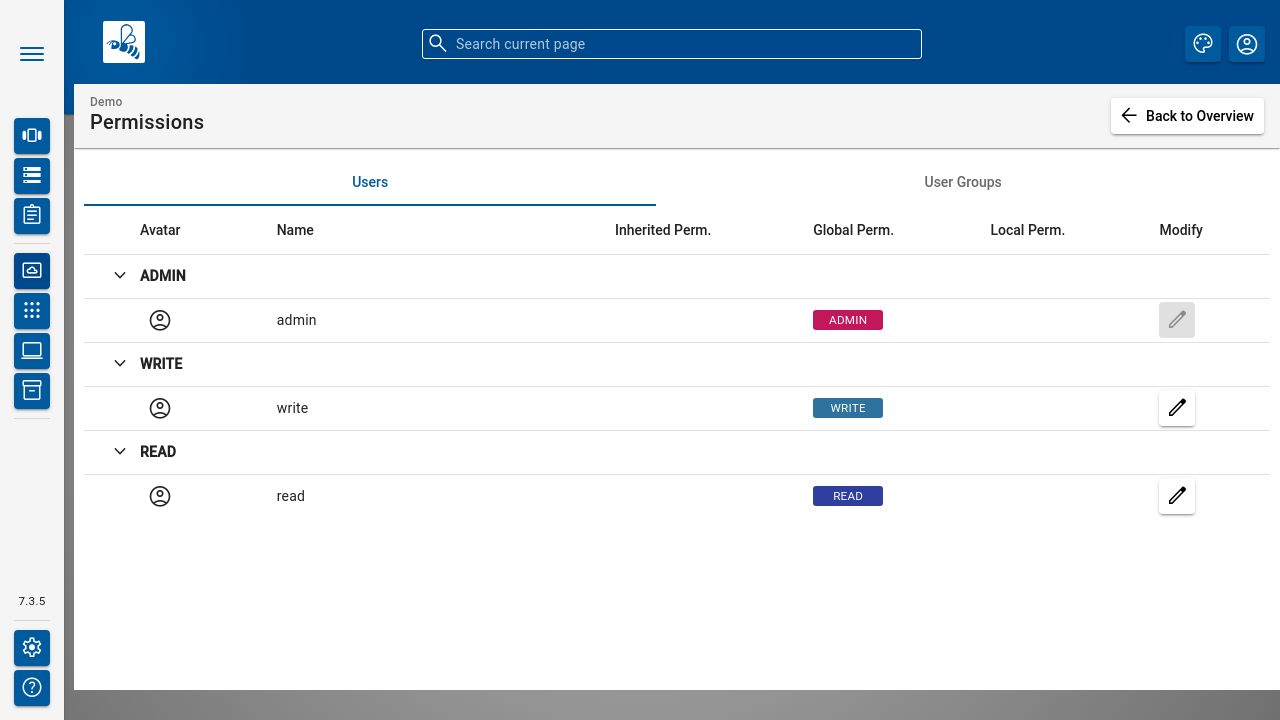
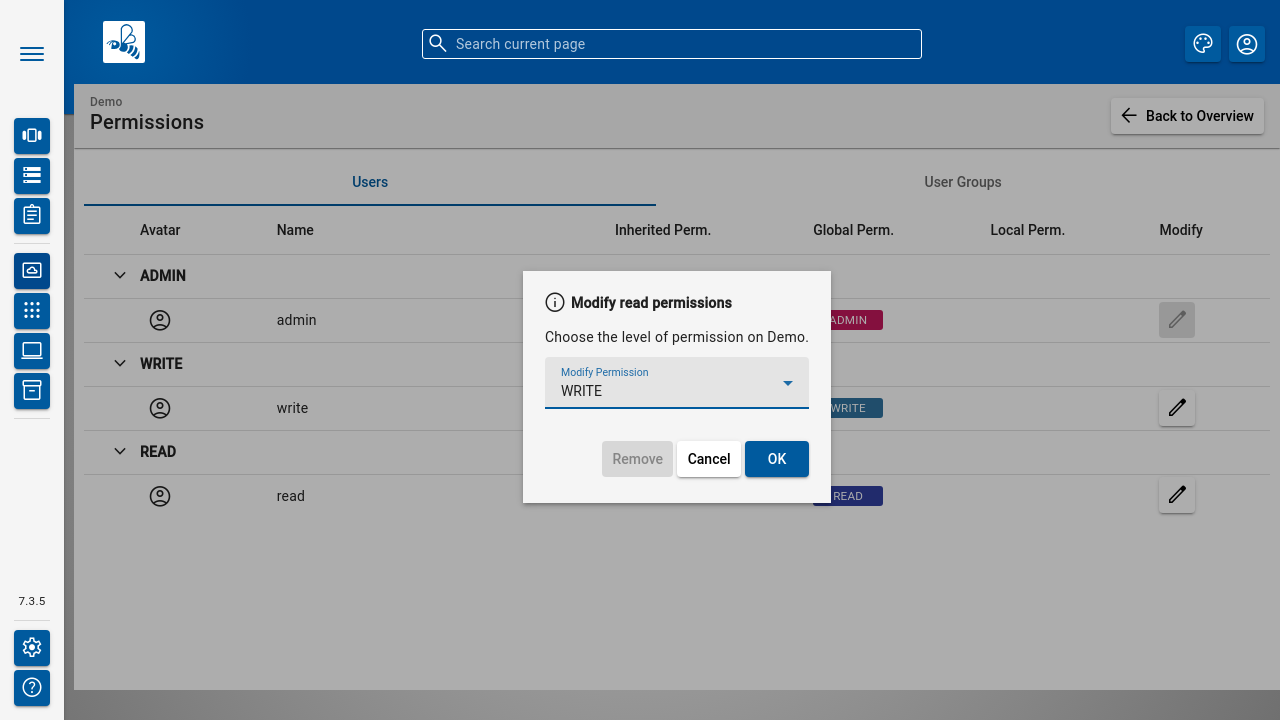
To assign a local permission to an existing user, click the [ Modify ] button in the according table row. A dialog will pop up asking for the permission to assign. Choose an apropriate one and click [ OK ].
The local permission will be shown next to the global permission. The highest available permission level is taken into account for any permission checks.
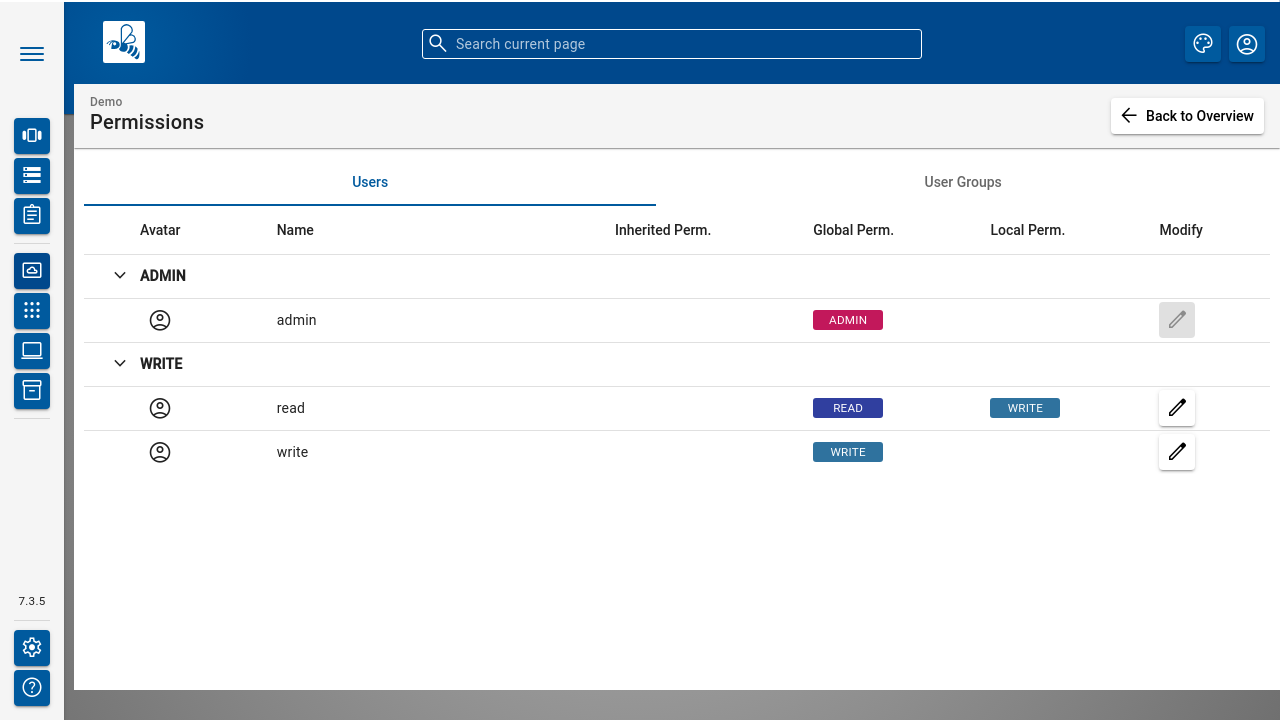
The user table is grouped by permission assignment, either global, local or unassigned.
Note
You can make Instance Group public by assigning local READ permission to All Users Group.
#
Initial Steps
Click on an Instance Group to open the Instance Browser of this group. Here you can see all Instances grouped by their purpose (can be Development, Test or Productive).
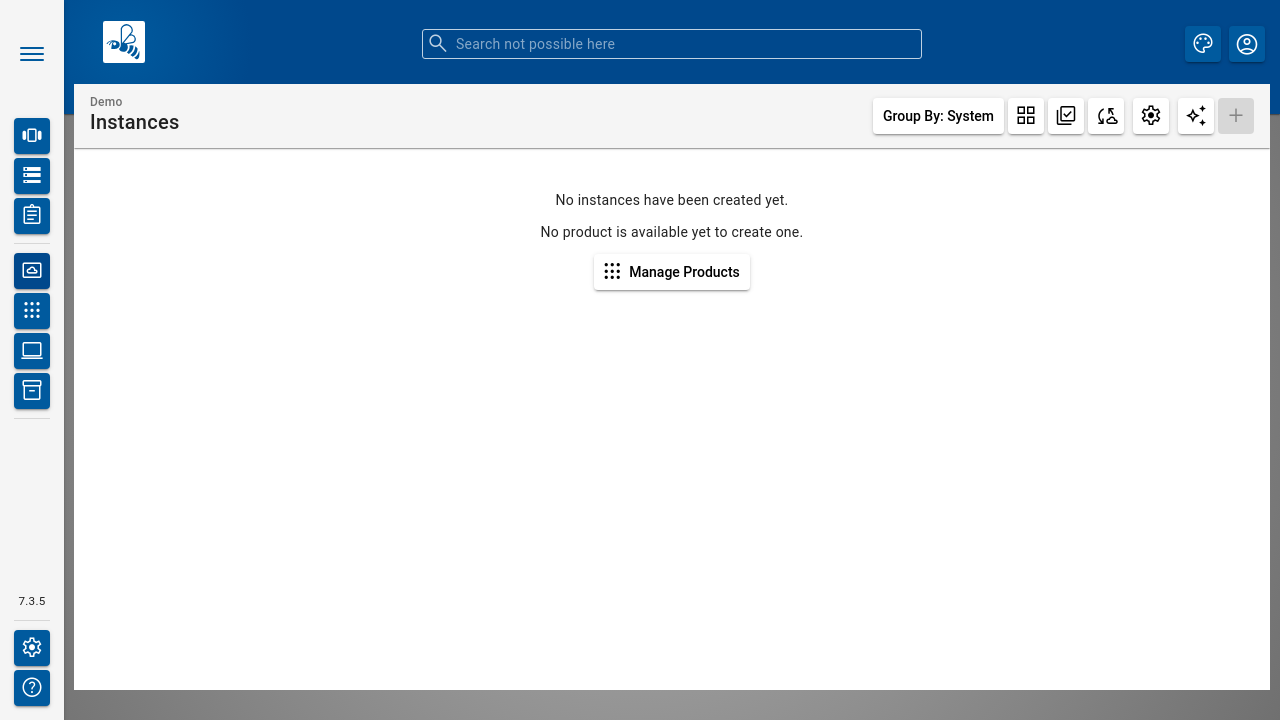
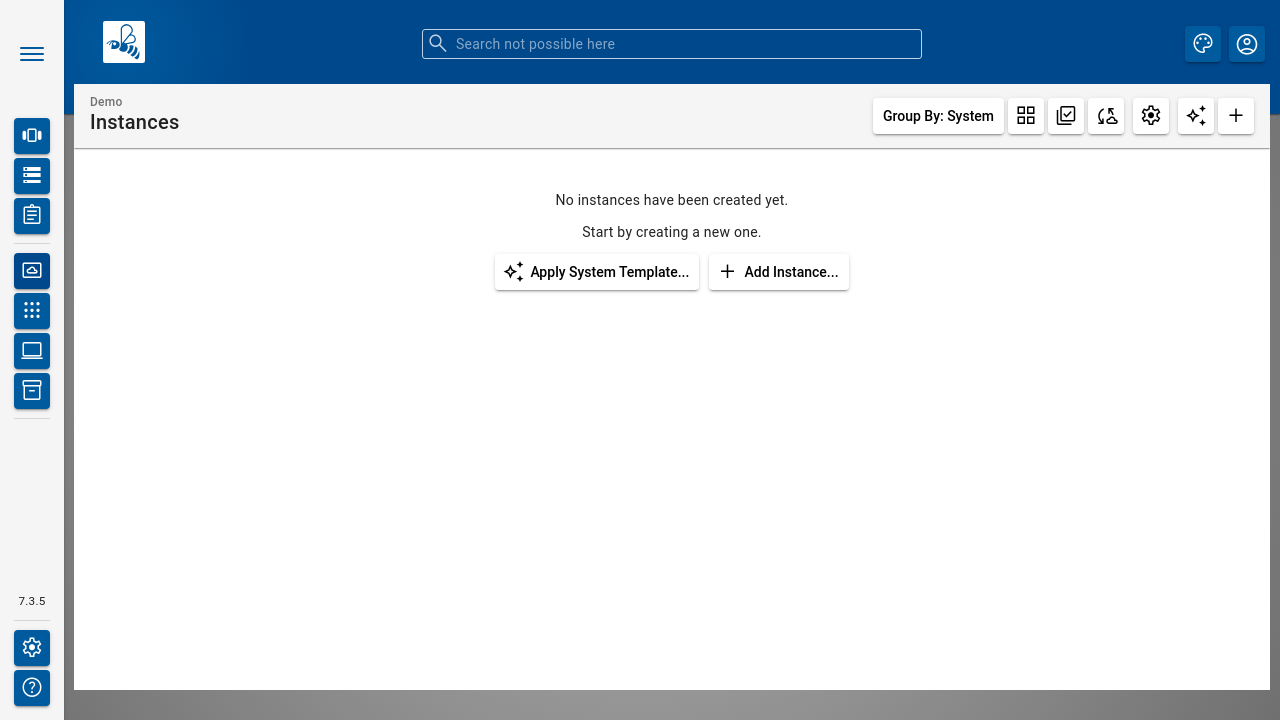
Since an Instance requires a Product, an empty Instance Group will initially display a shortcut to the
#
Manage Products
Products can be obtained by building a Product or by downloading an existing version from another Instance Group on the same or another BDeploy server, using the [ Download ] button on the Product details panel.
Note
On the BDeploy Releases page you will find some sample products to experiment with for each release, see https://github.com/bdeployteam/bdeploy/releases
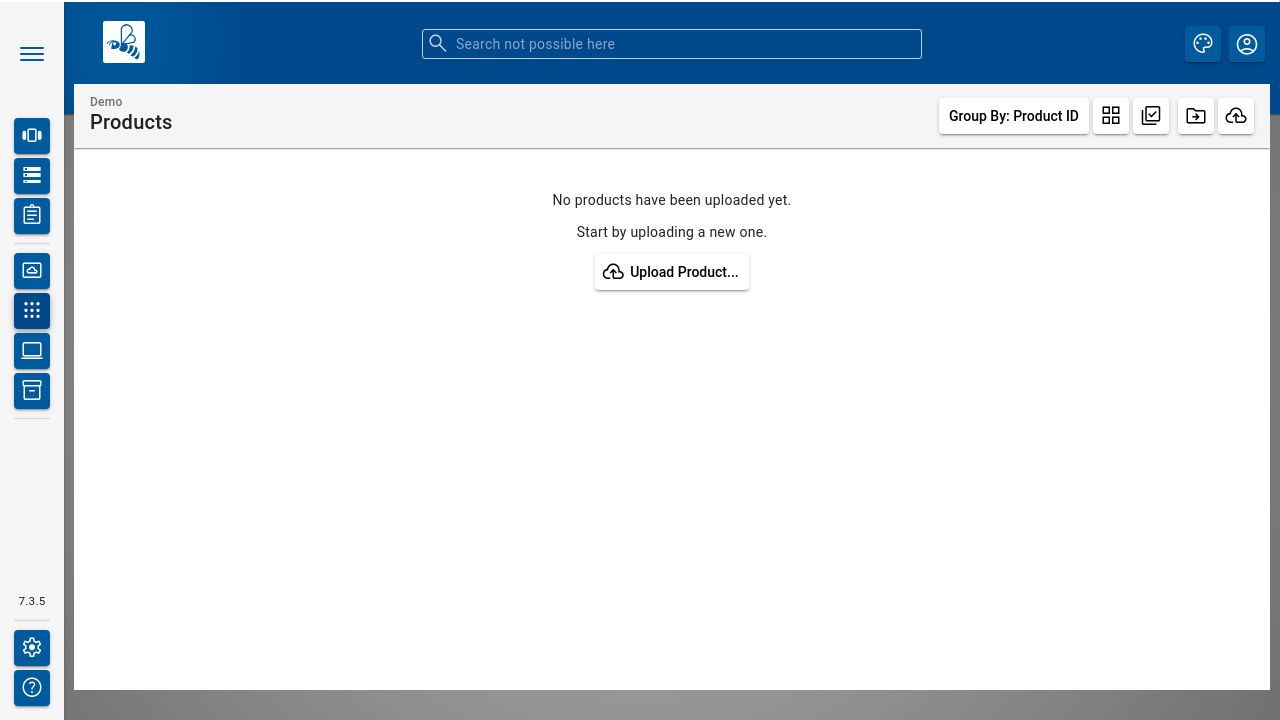
On the Products page, click the [ Upload Product ] button to upload new Products.
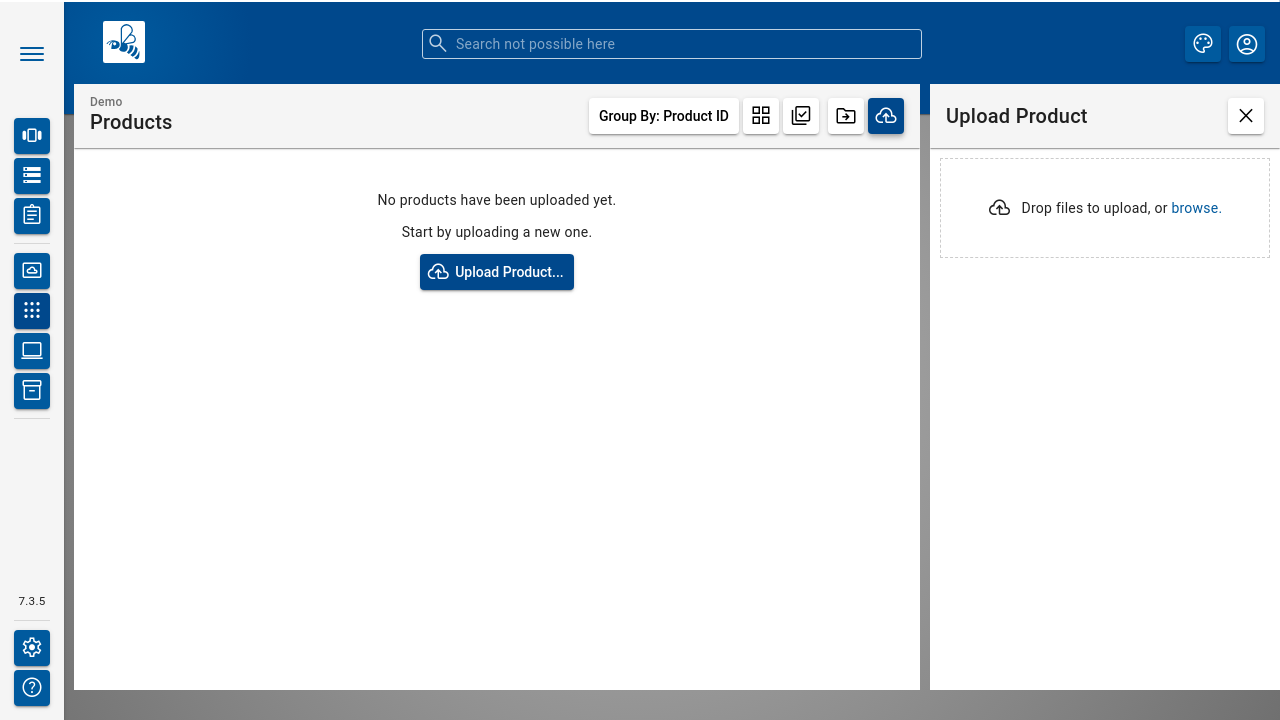
Click browse and choose a Product ZIP file to upload, or simply drop one on the highlighted drop zone. The Product will be uploaded.
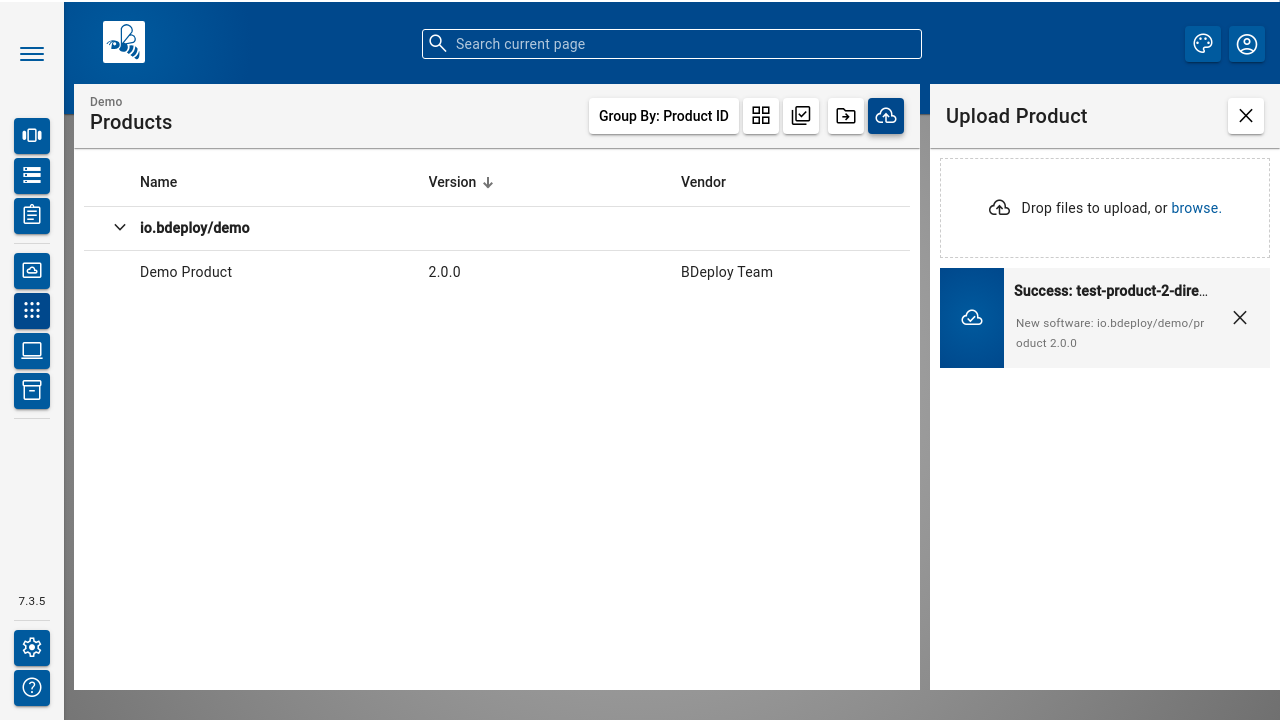
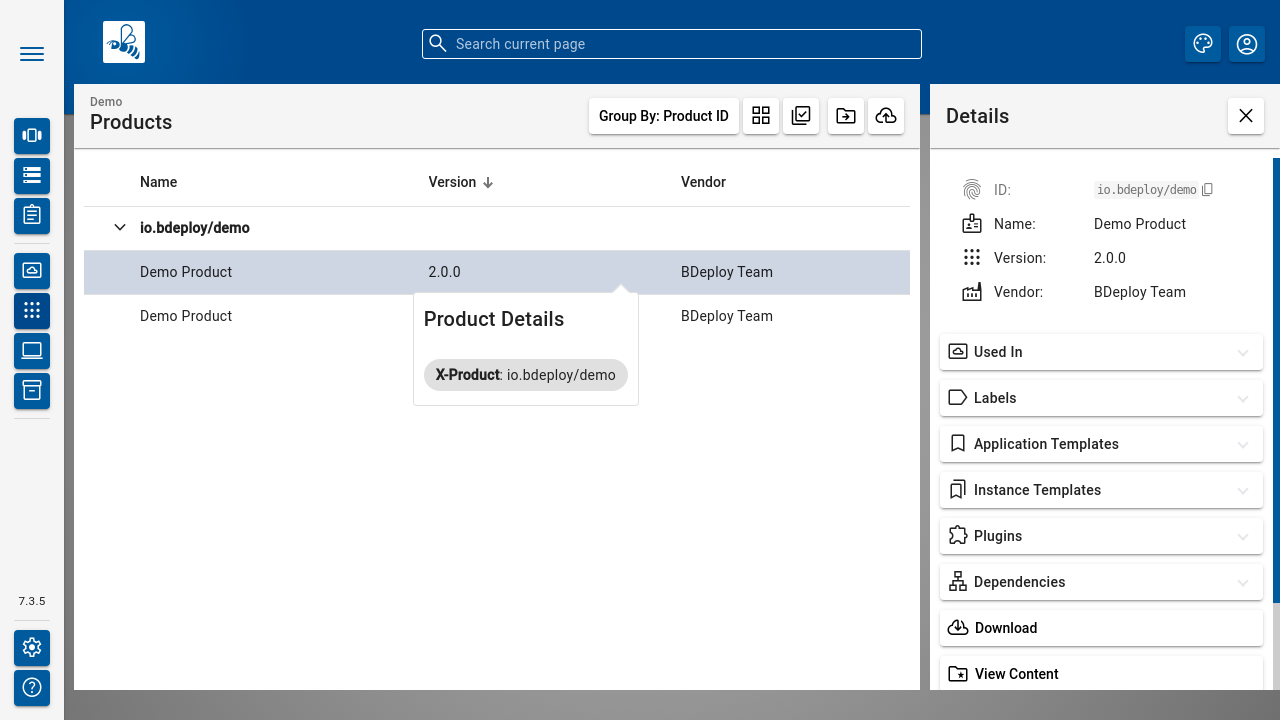
Once a Product is available, you can click it to open the Product details panel. This panel allows you to [ Download ] a Product version as ZIP, or [ Delete ] individual versions of the Product as long as it is not currently in use by an Instance version. There rest of the panel provides additional information about the Product.
#
Create new Instances
To create a new Instance, click the [ + ]. After giving the new Instance a name, purpose and description, the most important thing is to select the Product you want to deploy. Additionally, the initial product version has to be chosen. It can be changed later at any time (up- and downgrade).
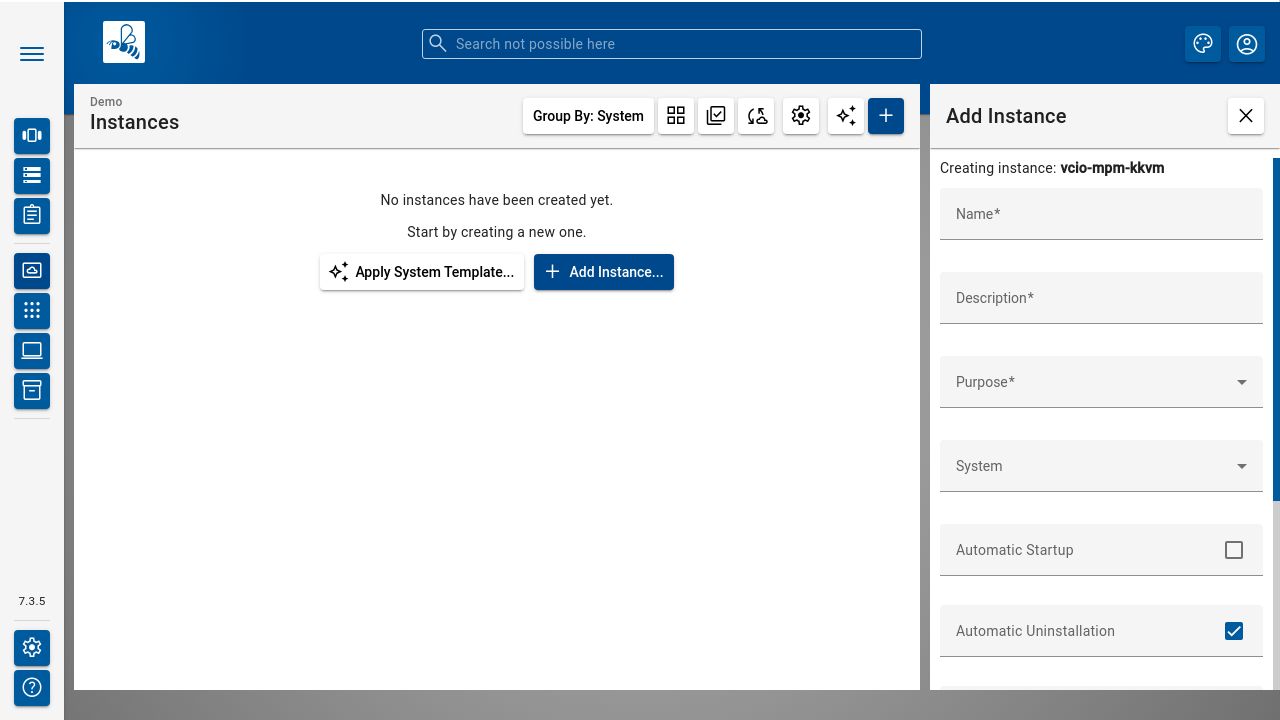
It is a common requirement that certain processes of an Instance should be automatically started whenever the BDeploy server itself is started. This can be configured via the Automatic Startup flag of the Instance.
The Instance determines whether it is included in the automatic cleanup job. If the option Automatic Uninstallation is enabled, the cleanup job will uninstall all instance versions that are older than the activated and the previously activated instance version. Due to this automatic uninstallation some of the old product versions might become unused. If the option Automatic Cleanup is activated on the instance group, these unused product versions are also deleted (see
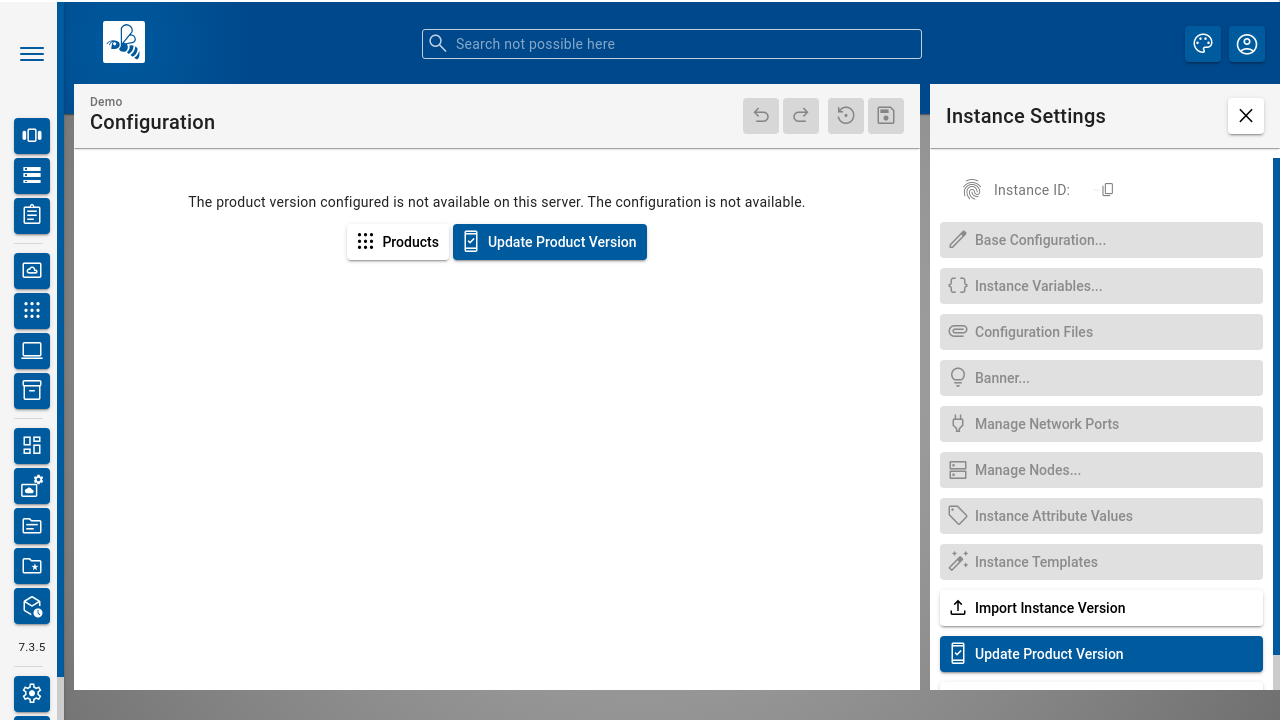
Click an Instance to proceed to the Instance Dashboard.
#
Global Attributes on Instance Groups
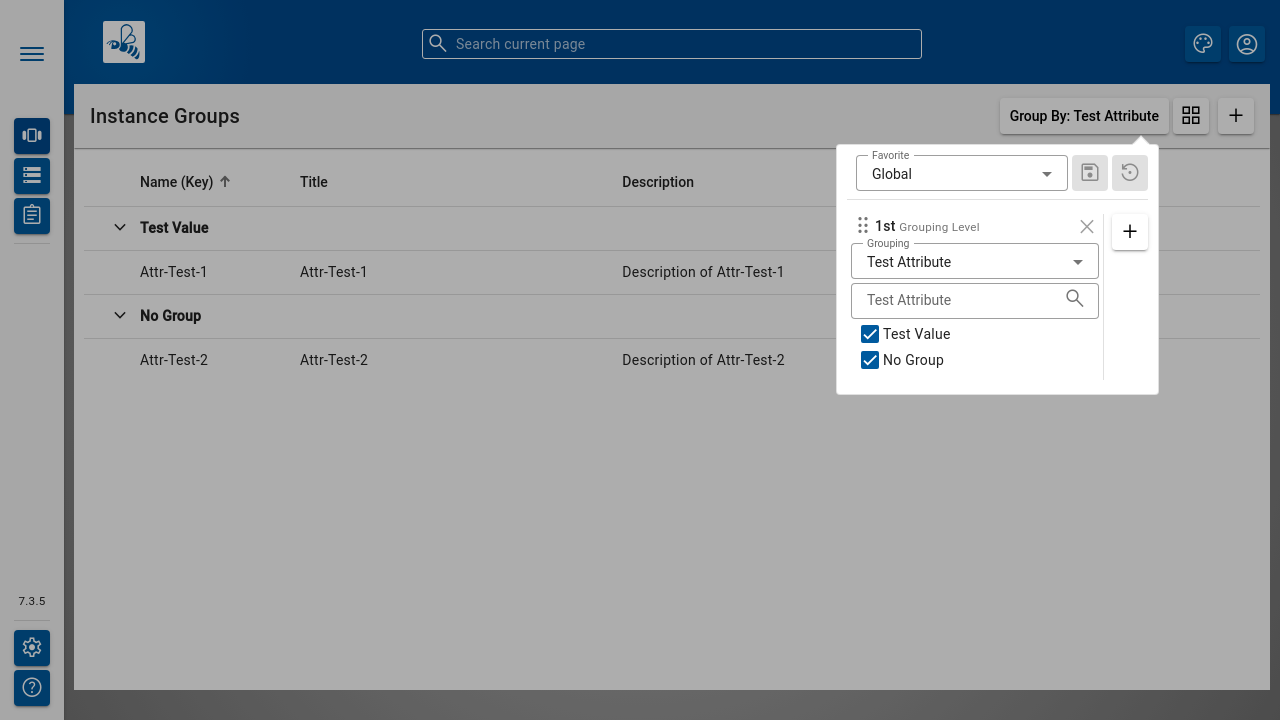
Global Attributes can be configured - as the name suggests - globally in the system administration. Each Instance Group may then associate a value with each of these global attributes.
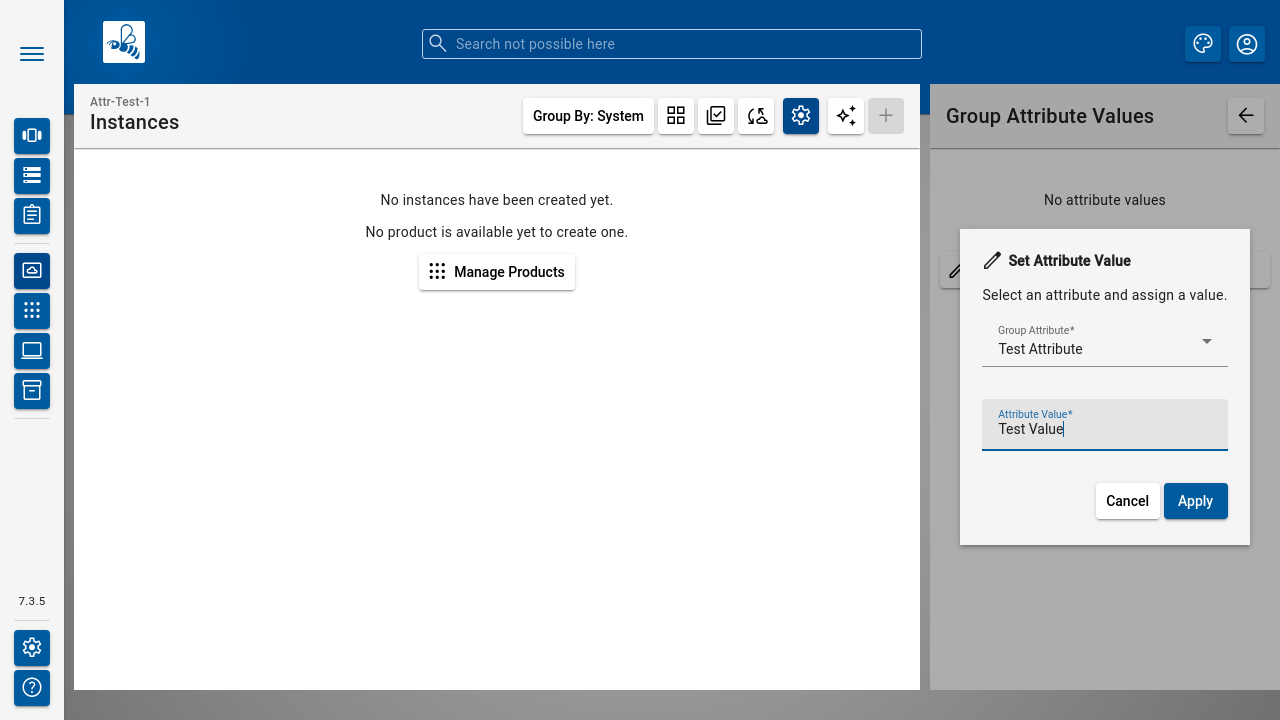
The value can then be used for grouping Instance Groups through the grouping panel.
#
Instance Group Attributes
Similarly to the global attributes, each Instance Group may have its own attributes. These attributes are not global - they are only visible within the Instance Group. Each Instance can assign a value to each of these attributes. Again, similarly to the Instance Group browser, the Instance browser can use the assigned values to group Instances by those values.
The attributes are defined in the Instance Group settings. The values are assigned in the Instance settings.
#
Bulk Manipulation and Control
Instances can be manipulated and controlled in batches from the Instance Browser. Click the [ Bulk Manipulation ] button in the toolbar. This will open the Bulk Instance Manipulation panel to the right. Instances can now be selected in the main content area by checking the checkboxes at the beginning of their row in the table.
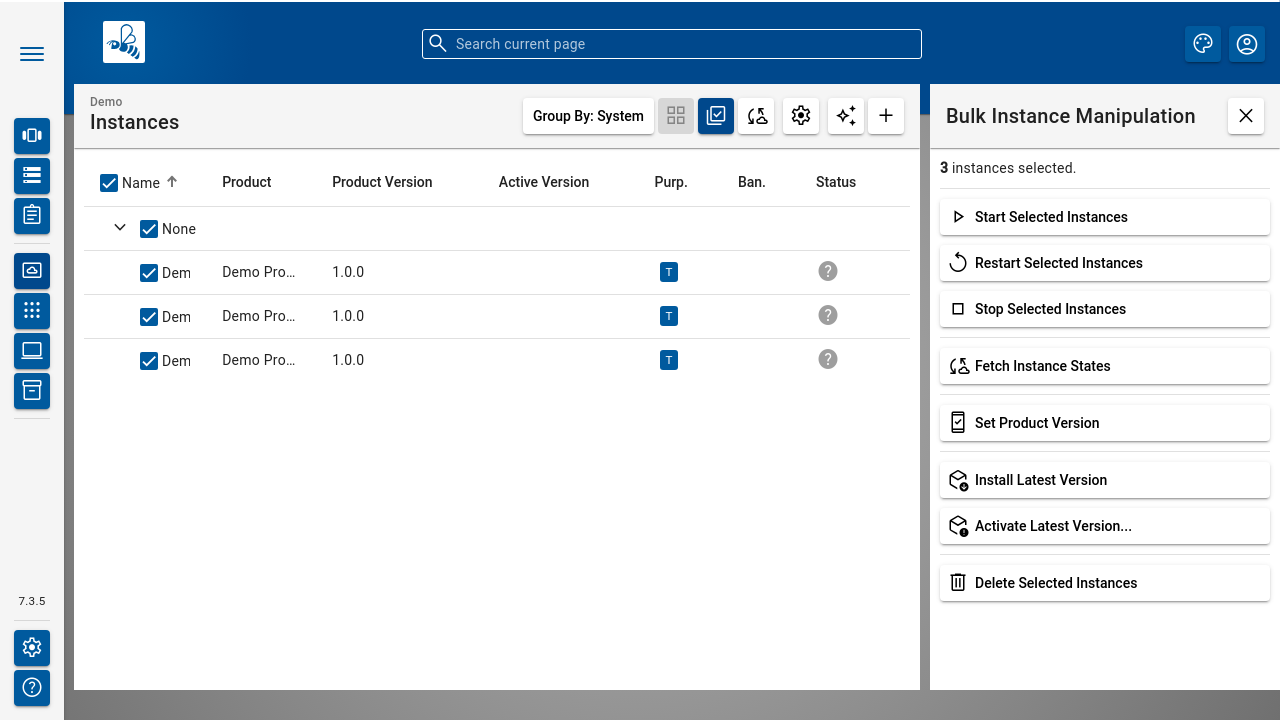
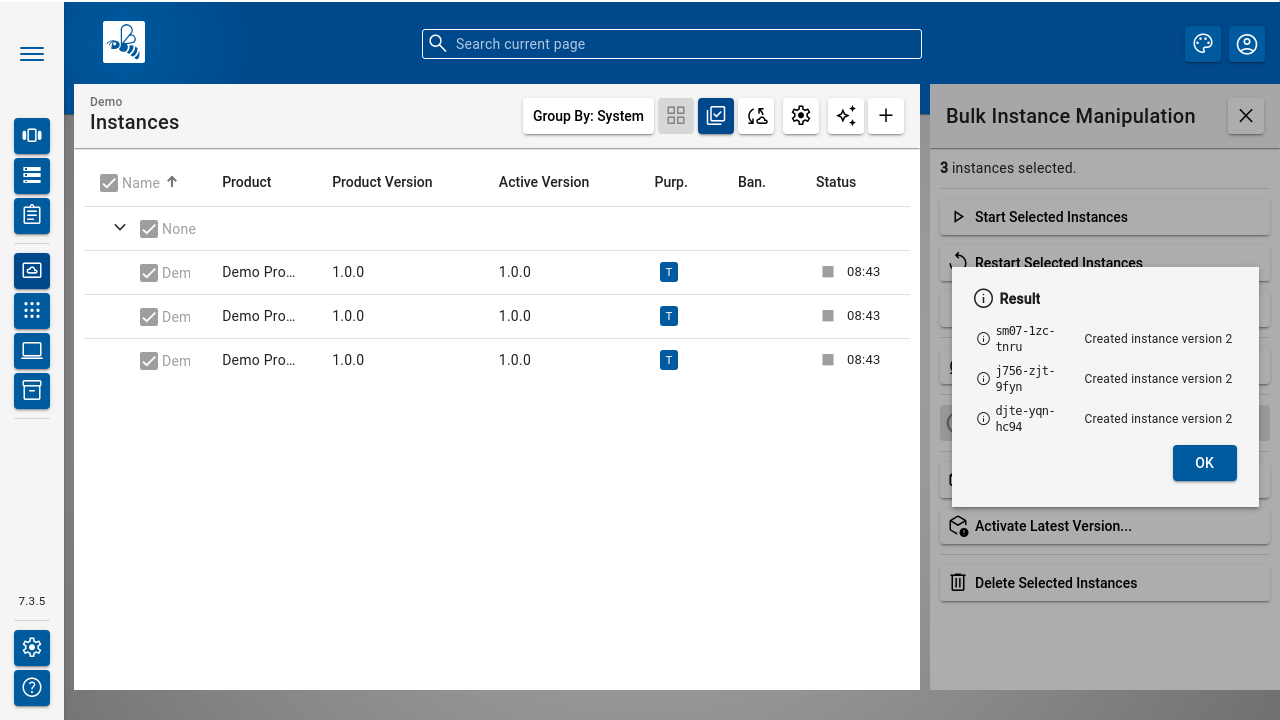
Once a set of instances has been selected, the available actions can be performed on all of them. All actions (except for start/stop) will show a result after being performed. Start/stop will not show a result, as they will just trigger start/stop on instances. Depending on their configuration it may not be possible to show a result.
#
Systems
Systems are a means of further grouping instances of different products inside a single Instance Group. Systems also provide a way to apply shared configuration through
Once created, a System can be used by an Instance by configuring the in-use System in the Instance Configuration of each Instance which should participate in this particular System.
Note
A System definition may be used by many Instances, but each Instance can only be part of one System (or none).
#
System Variables
System Variables can be configured on Systems. Those variables can then be referenced by other Link Expressions (process parameters, endpoint configuration, instance variables, configuration files).
#
System Templates
A System Template allows definition of complete systems. Since those templates live outside of any specific single product, they are single YAML files which have a separate lifecycle.
A System Template will typically create multiple instances of multiple products in a to-be-created system. It can also create
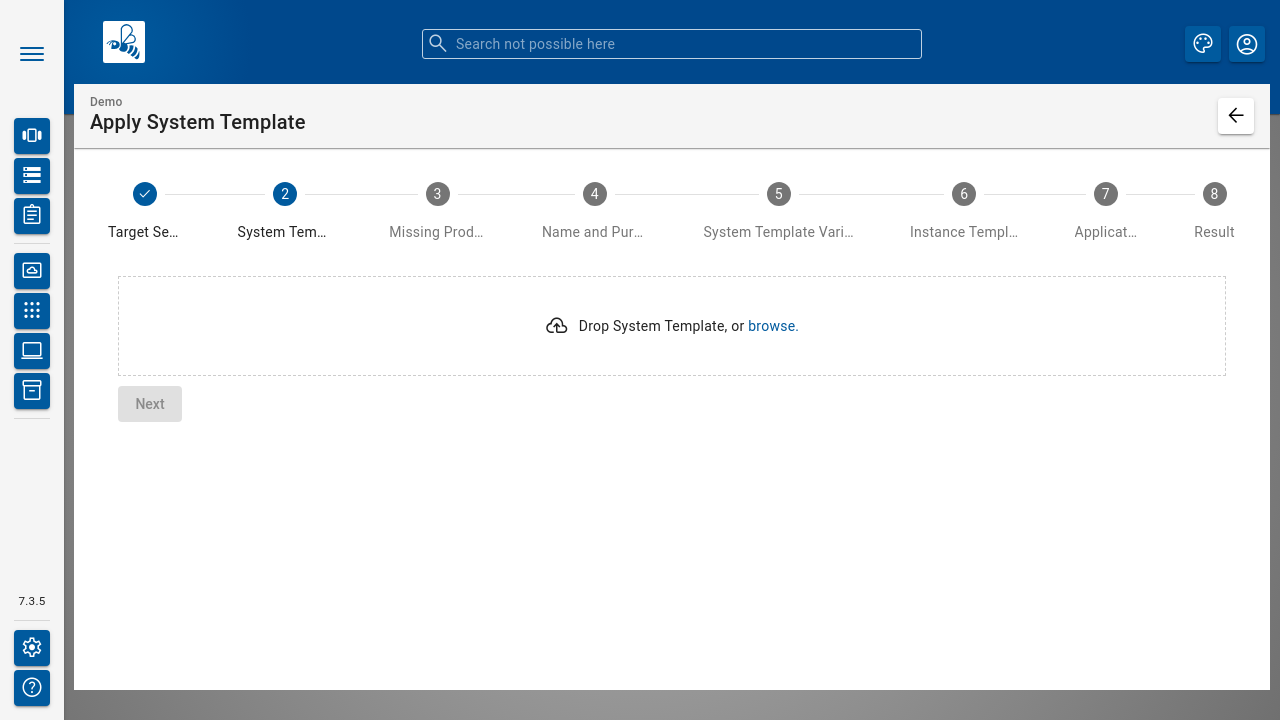
The System Template Wizard will request you to upload a system-template.yaml file. Once this is done, you can specify template variable values for variables defined and used in the system template itself. These are not to be confused with template variables used in instance templates, which will be queried at a later stage in the process (if necessary). System Templates can use template variables in their own YAML descriptor to provide very dynamic (pre-)configuration for instance templates, thus those variables need to be available before configuring instance templates.
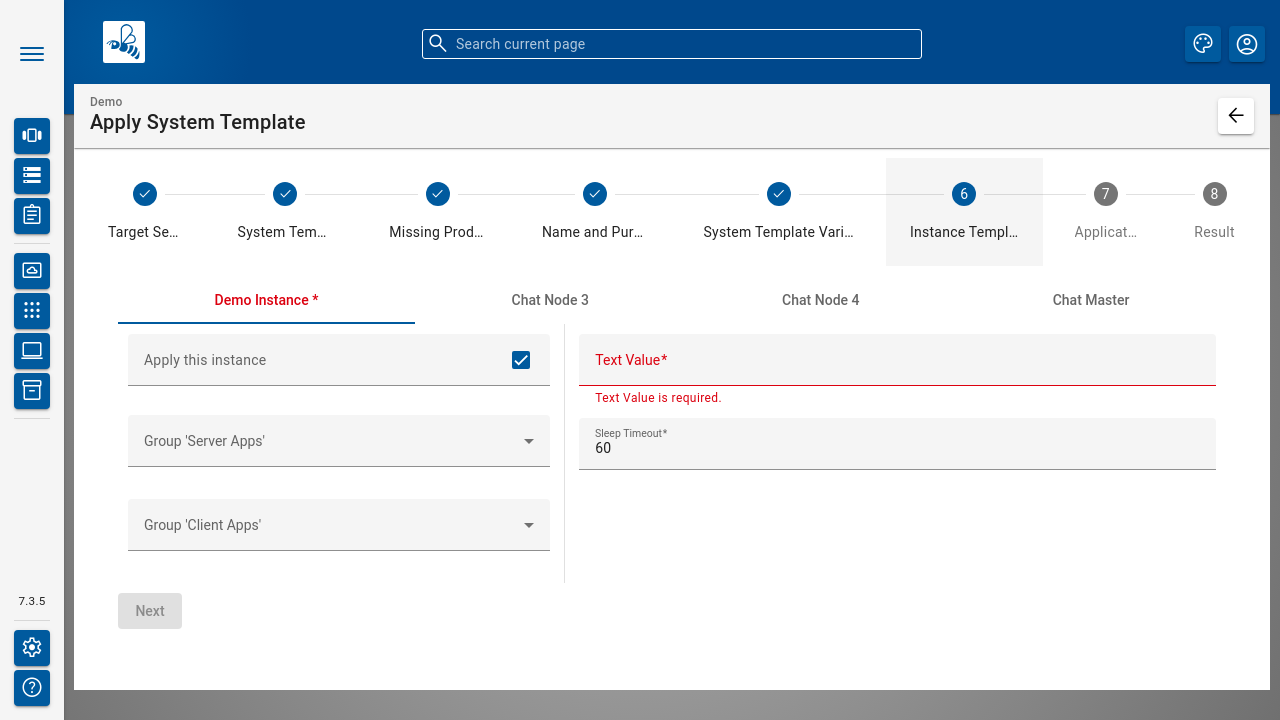
The Wizard will now query each instance defined in the System Template. This allows users to skip instances, or configure intances in a way just "as if" they would apply the individual Instance Templates to a new, empty instance each.
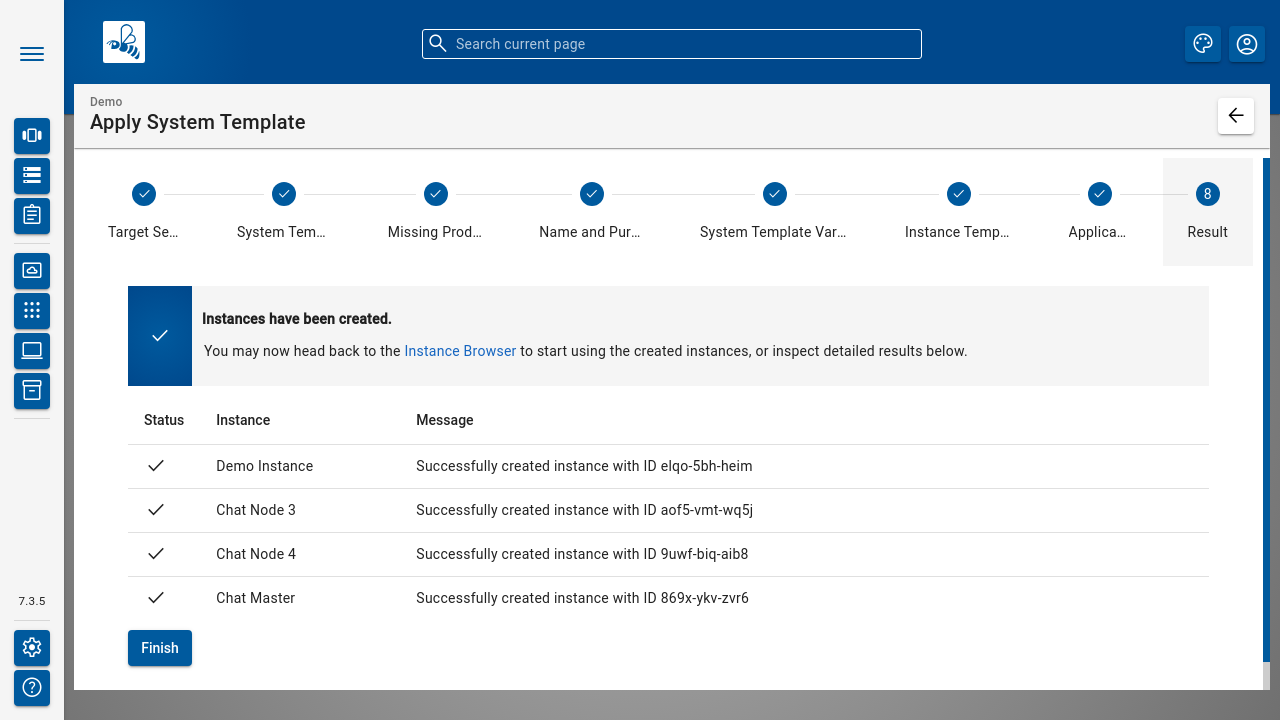
Once done, the Wizard will show success confirmations along with potential warnings and errors that occured during application of the template(s).

